This is a LONG post, so grab a cup of coffee or take your Geritol before continuing. You'll need it!
To start with, I made some cookies to share.


The bottom cookies are Toffee Bars that my Aunt Lydia always made for Christmas, and they are still family favorites. Here are the recipes I use for each one:
Peanut Butter Blossoms
1 teaspoon baking soda
1 teaspoon salt
1/2 cup shortening (I use butter-flavored Crisco sticks)
1/2 cup creamy peanut butter
1/2 cup white sugar
1/2 cup brown sugar
1 egg
2 tablespoons of milk
1 teaspoon vanilla extract
1/2 cup white sugar
1 package Hershey's milk chocolate kisses
1. In a medium bowl, stir together flour, baking soda, and salt.
2. In a large mixing bowl, cream together the shortening, peanut butter, 1/2 cup white sugar, and brown sugar. Add the egg, milk, and vanilla. Mix well. Add the dry ingredients, mixing thoroughly. Chill the dough for 1 hour.
3. Use a teaspoon to shape into balls. Roll the balls in 1/2 cup white sugar. Place on cookie sheets lined with parchment paper.
4. Bake at 375 degrees for 8-10 minutes. Remove from oven, and immediately press 1 Hershey's kiss on each cookie, pressing down until the cookie starts to crack around the edges.
5. Bake another 2-3 minutes. Watch carefully so the kisses don't melt.
6. Makes about 4 dozen cookies.
Aunt Lydia's Toffee Bars
1 cup butter (2 sticks), at room temperature
1 cup brown sugar, packed
1 egg yolk
1/4 teaspoon salt
1 teaspoon vanilla extract
2 cups all-purpose flour
3 or 4 full-sized Hershey's Milk Chocolate Candy Bars, broken into squares
1/2 to 3/4 cup finely chopped pecans
1. Spray a 9 X 13 glass baking dish with baking spray. Preheat the oven to 350 degrees.
2. Cream the first 5 ingredients together until smooth and creamy.
3. On low speed, mix in the flour until well blended.
4. Pat out the cookie dough evenly into the prepared baking dish, so that it covers the bottom of the dish.
5. Bake for 25-30 minutes, until it's light golden brown.
6. Take the baking dish out of the oven, and immediately spread the Hershey's candy bar squares over the cookie base while it is still hot. Wait a couple minutes for the chocolate to soften. Then spread the softened chocolate evenly over the top with a knife.
7. Sprinkle the chopped pecans over the top.
8. When it has cooled, cut it into small squares to serve.

My husband's side of the family has already had their annual Christmas Party. It was our turn to host it. As hosts, our job is to decorate the tables and set up the food. Oh, and clean up afterwards. 🤯 There were 87 people attending, so the family rented a banquet hall. There were 20 round tables set up, with 6 chairs per table. We bought Christmas themed tablecloths to cover the tables. Then, in an apparent state of delirium, I decided to make little gift bags as the centerpiece for all the tables. Since most families sit together, I thought it would be nice if every family could take home a gift bag. I made 24 bags in all, just in case I needed extras. Here's what a random sample of them wound up looking like: (I still had a fall tablecloth on my kitchen table - sorry)


I made 24 of them, all different! No 2 bags were alike. We stuffed them with candy, candy canes, and packets of hot chocolate. Needless to say, they were a big hit! In fact, some people were trying to steal each other's bags. They need help. Seriously. 😂
I used a tutorial from Just Jude Designs, which you can access HERE. I made a couple tweaks to the pattern, since I was mass producing them. It just made it easier for me to work quickly.
I will give you a rough idea of the tutorial below. Please access the Just Jude Designs page for a complete, thorough, and free tutorial. It is a great tutorial, and the bags turned out so cute! I had a ball making them!
Here's what I did:
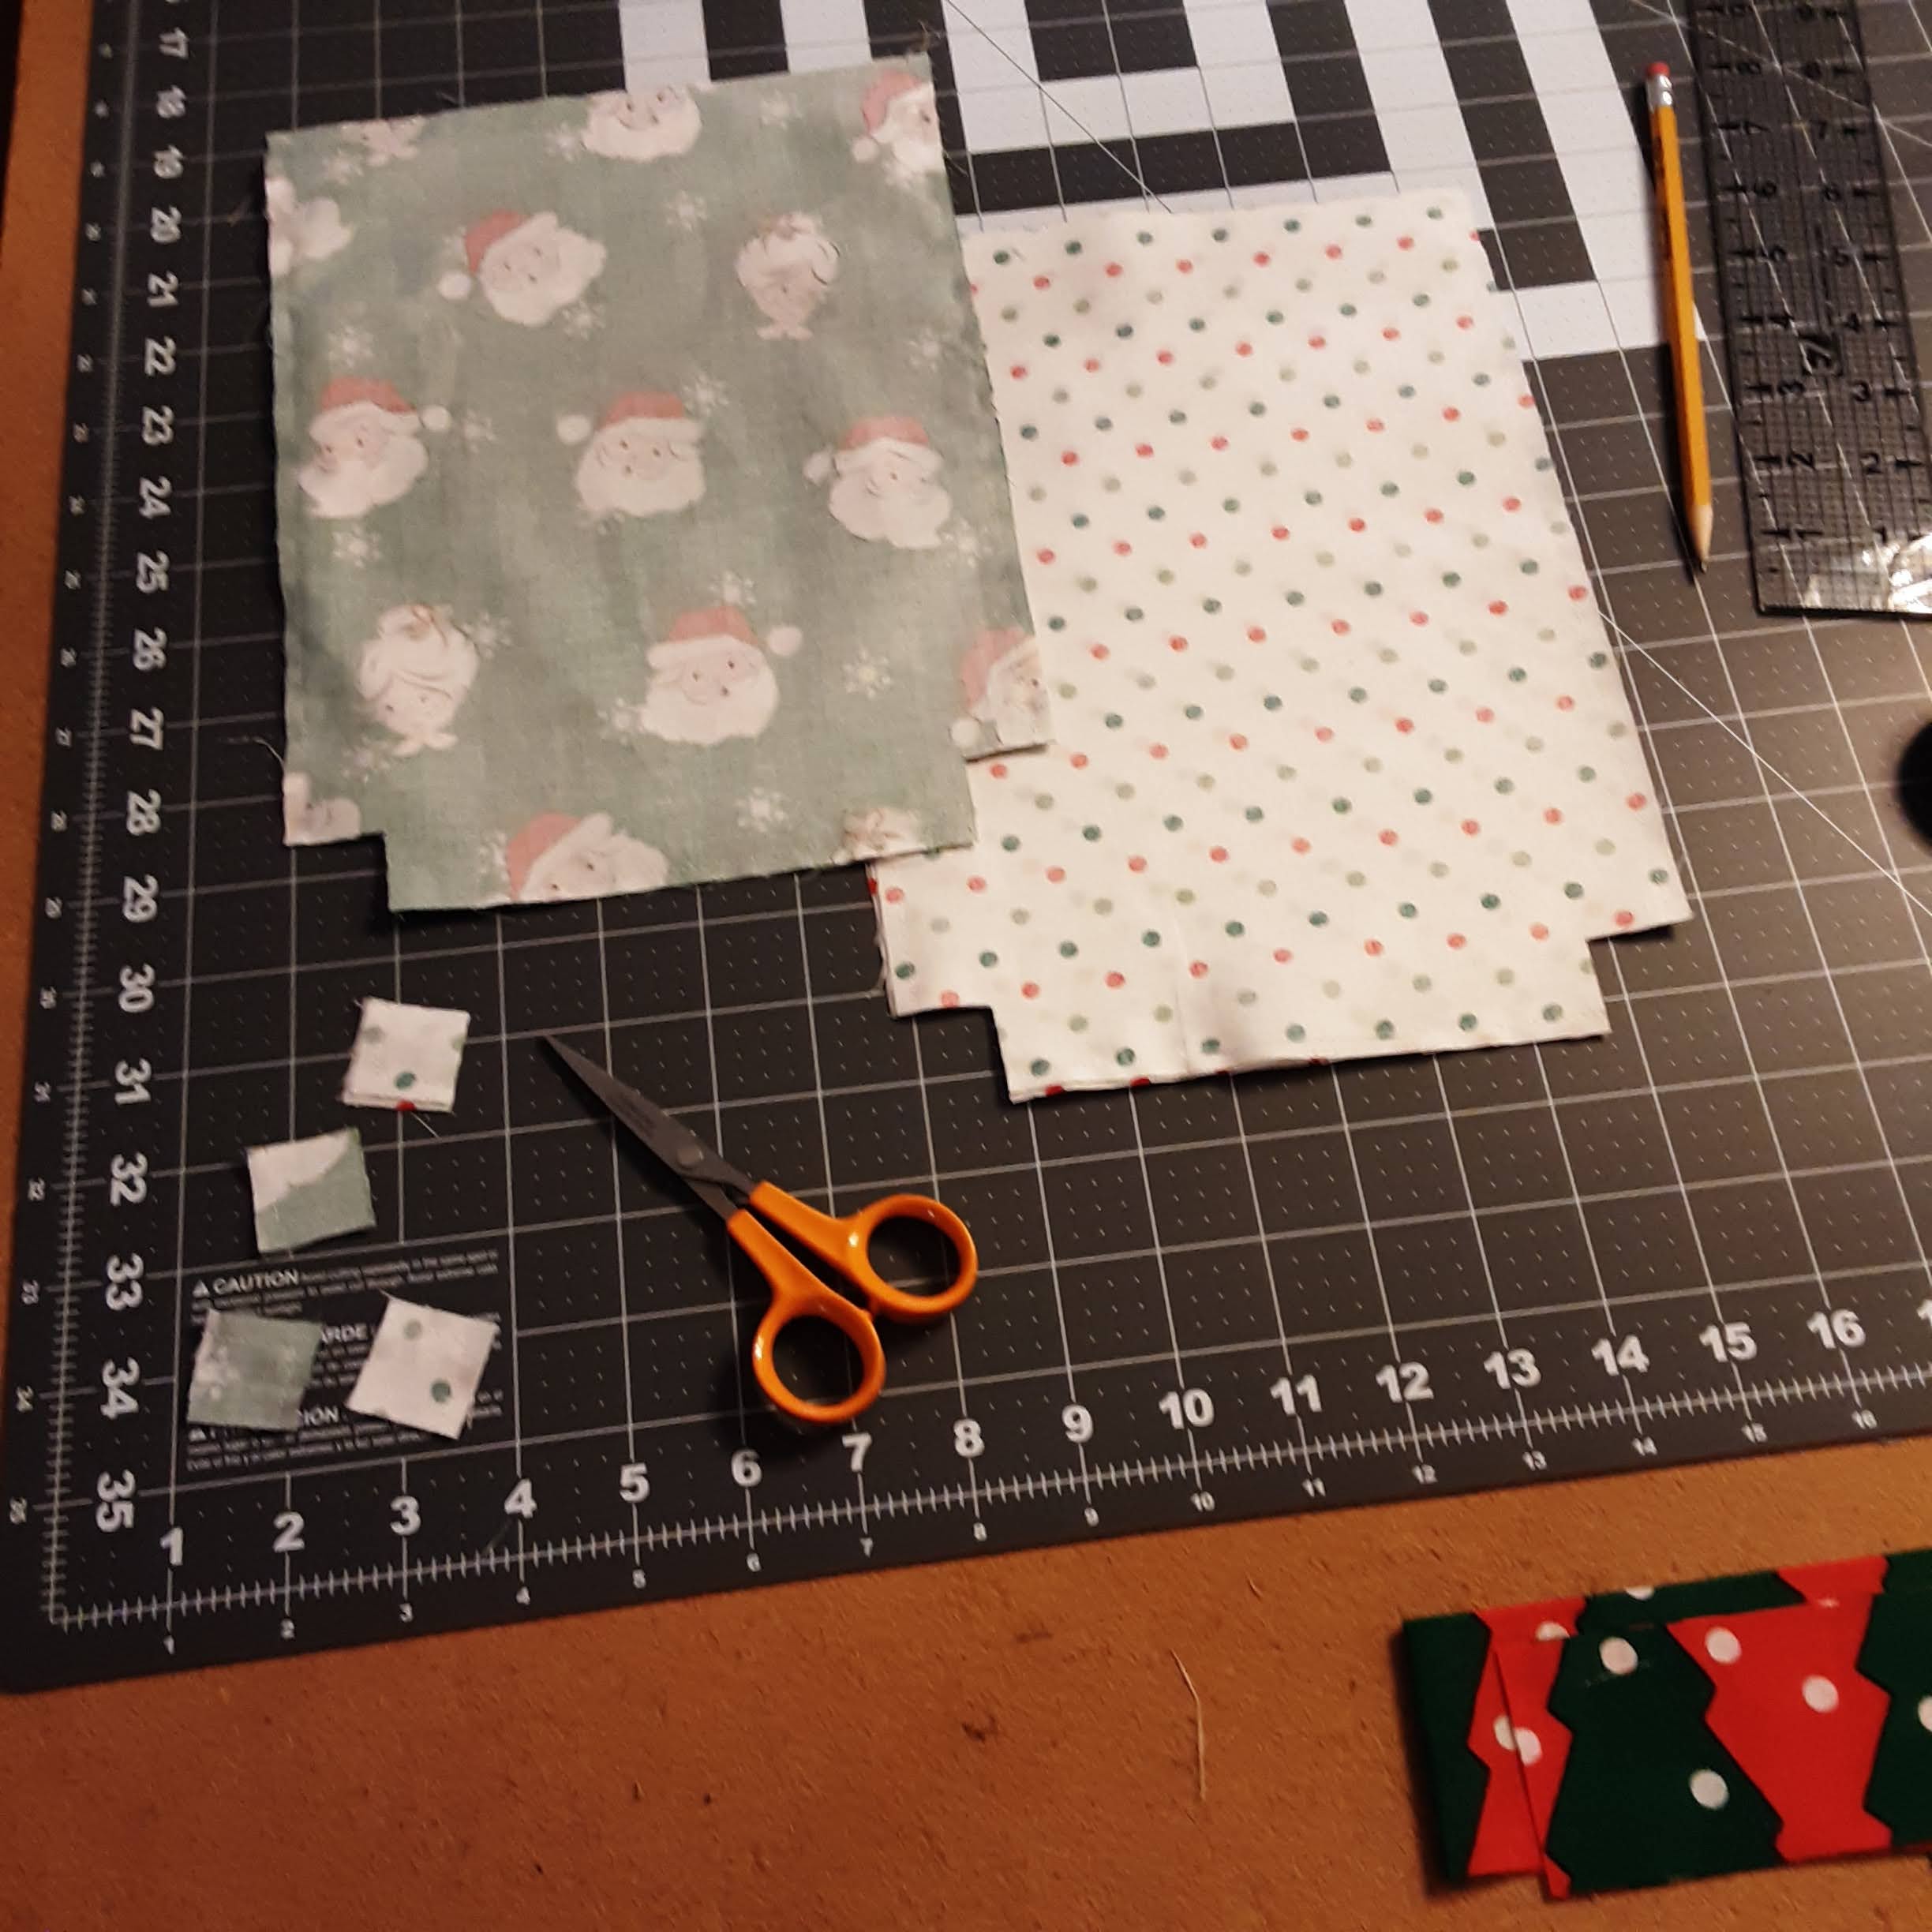
I started out by dragging out a bunch of my Christmas fabric.