Showing posts with label sewing. Show all posts

Wednesday, December 6, 2023

Virtual Christmas Cookie Blog Hop - My Turn


It looks like I'm the caboose of the Christmas Cookie Exchange train this year!  It's been such fun to see all the wonderful projects and goodies you all have made.  I can't wait to try a bunch of the recipes you all have shared, and I've got some new ideas for projects thanks to all you talented quilters!

This is a LONG post, so grab a cup of coffee or take your Geritol before continuing.  You'll need it!

To start with, I made some cookies to share.  


The top cookies are favorites of my family, and I make them every year.  They are the good old Peanut Butter Blossoms.  So easy, yet SO YUMMY!  These are not gluten free, by the way.  I make some that are gluten free, but honestly, they're not as good as these.  This recipe is everyone's favorite!

The bottom cookies are Toffee Bars that my Aunt Lydia always made for Christmas, and they are still family favorites.  Here are the recipes I use for each one:

Peanut Butter Blossoms

1-1/3 cups flour
1 teaspoon baking soda
1 teaspoon salt
1/2 cup shortening (I use butter-flavored Crisco sticks)
1/2 cup creamy peanut butter
1/2 cup white sugar
1/2 cup brown sugar
1 egg
2 tablespoons of milk
1 teaspoon vanilla extract
1/2 cup white sugar
1 package Hershey's milk chocolate kisses

1.  In a medium bowl, stir together flour, baking soda, and salt.

2.  In a large mixing bowl, cream together the shortening, peanut butter, 1/2 cup white sugar, and brown sugar.  Add the egg, milk, and vanilla.  Mix well.  Add the dry ingredients, mixing thoroughly.  Chill the dough for 1 hour.

3.  Use a teaspoon to shape into balls.  Roll the balls in 1/2 cup white sugar.  Place on cookie sheets lined with parchment paper.  

4.  Bake at 375 degrees for 8-10 minutes.  Remove from oven, and immediately press 1 Hershey's kiss on each cookie, pressing down until the cookie starts to crack around the edges.  

5.  Bake another 2-3 minutes.  Watch carefully so the kisses don't melt.

6.  Makes about 4 dozen cookies.

Aunt Lydia's Toffee Bars


1 cup butter (2 sticks), at room temperature

1 cup brown sugar, packed

1 egg yolk

1/4 teaspoon salt

1 teaspoon vanilla extract

2 cups all-purpose flour

3 or 4 full-sized Hershey's Milk Chocolate Candy Bars, broken into squares

1/2 to 3/4 cup finely chopped pecans


1.  Spray a 9 X 13 glass baking dish with baking spray.  Preheat the oven to 350 degrees.

2.  Cream the first 5 ingredients together until smooth and creamy.

3.  On low speed, mix in the flour until well blended.

4.  Pat out the cookie dough evenly into the prepared baking dish, so that it covers the bottom of the dish.

5.  Bake for 25-30 minutes, until it's light golden brown.

6.  Take the baking dish out of the oven, and immediately spread the Hershey's candy bar squares over the cookie base while it is still hot.  Wait a couple minutes for the chocolate to soften.  Then spread the softened chocolate evenly over the top with a knife.

7.  Sprinkle the chopped pecans over the top.

8.  When it has cooled, cut it into small squares to serve.  


My husband's side of the family has already had their annual Christmas Party.  It was our turn to host it.  As hosts, our job is to decorate the tables and set up the food.  Oh, and clean up afterwards. 🤯  There were 87 people attending, so the family rented a banquet hall.  There were 20 round tables set up, with 6 chairs per table.  We bought Christmas themed tablecloths to cover the tables.  Then, in an apparent state of delirium, I decided to make little gift bags as the centerpiece for all the tables.  Since most families sit together, I thought it would be nice if every family could take home a gift bag.  I made 24 bags in all, just in case I needed extras.  Here's what a random sample of them wound up looking like:  (I still had a fall tablecloth on my kitchen table - sorry)


I made 24 of them, all different!  No 2 bags were alike.  We stuffed them with candy, candy canes, and packets of hot chocolate.  Needless to say, they were a big hit!   In fact, some people were trying to steal each other's bags.  They need help.  Seriously.  😂

I used a tutorial from Just Jude Designs, which you can access HERE.  I made a couple tweaks to the pattern, since I was mass producing them.  It just made it easier for me to work quickly.  

I will give you a rough idea of the tutorial below.  Please access the Just Jude Designs page for a complete, thorough, and free tutorial.  It is a great tutorial, and the bags turned out so cute!   I had a ball making them!

Here's what I did:

I started out by dragging out a bunch of my Christmas fabric.


Then, my granddaughter and I sifted through the piles looking for sets of coordinating fabrics.  That took awhile - in fact, after about 30 minutes, my granddaughter gave up and left me on my own.  I still cry when I think about that.  🤣  

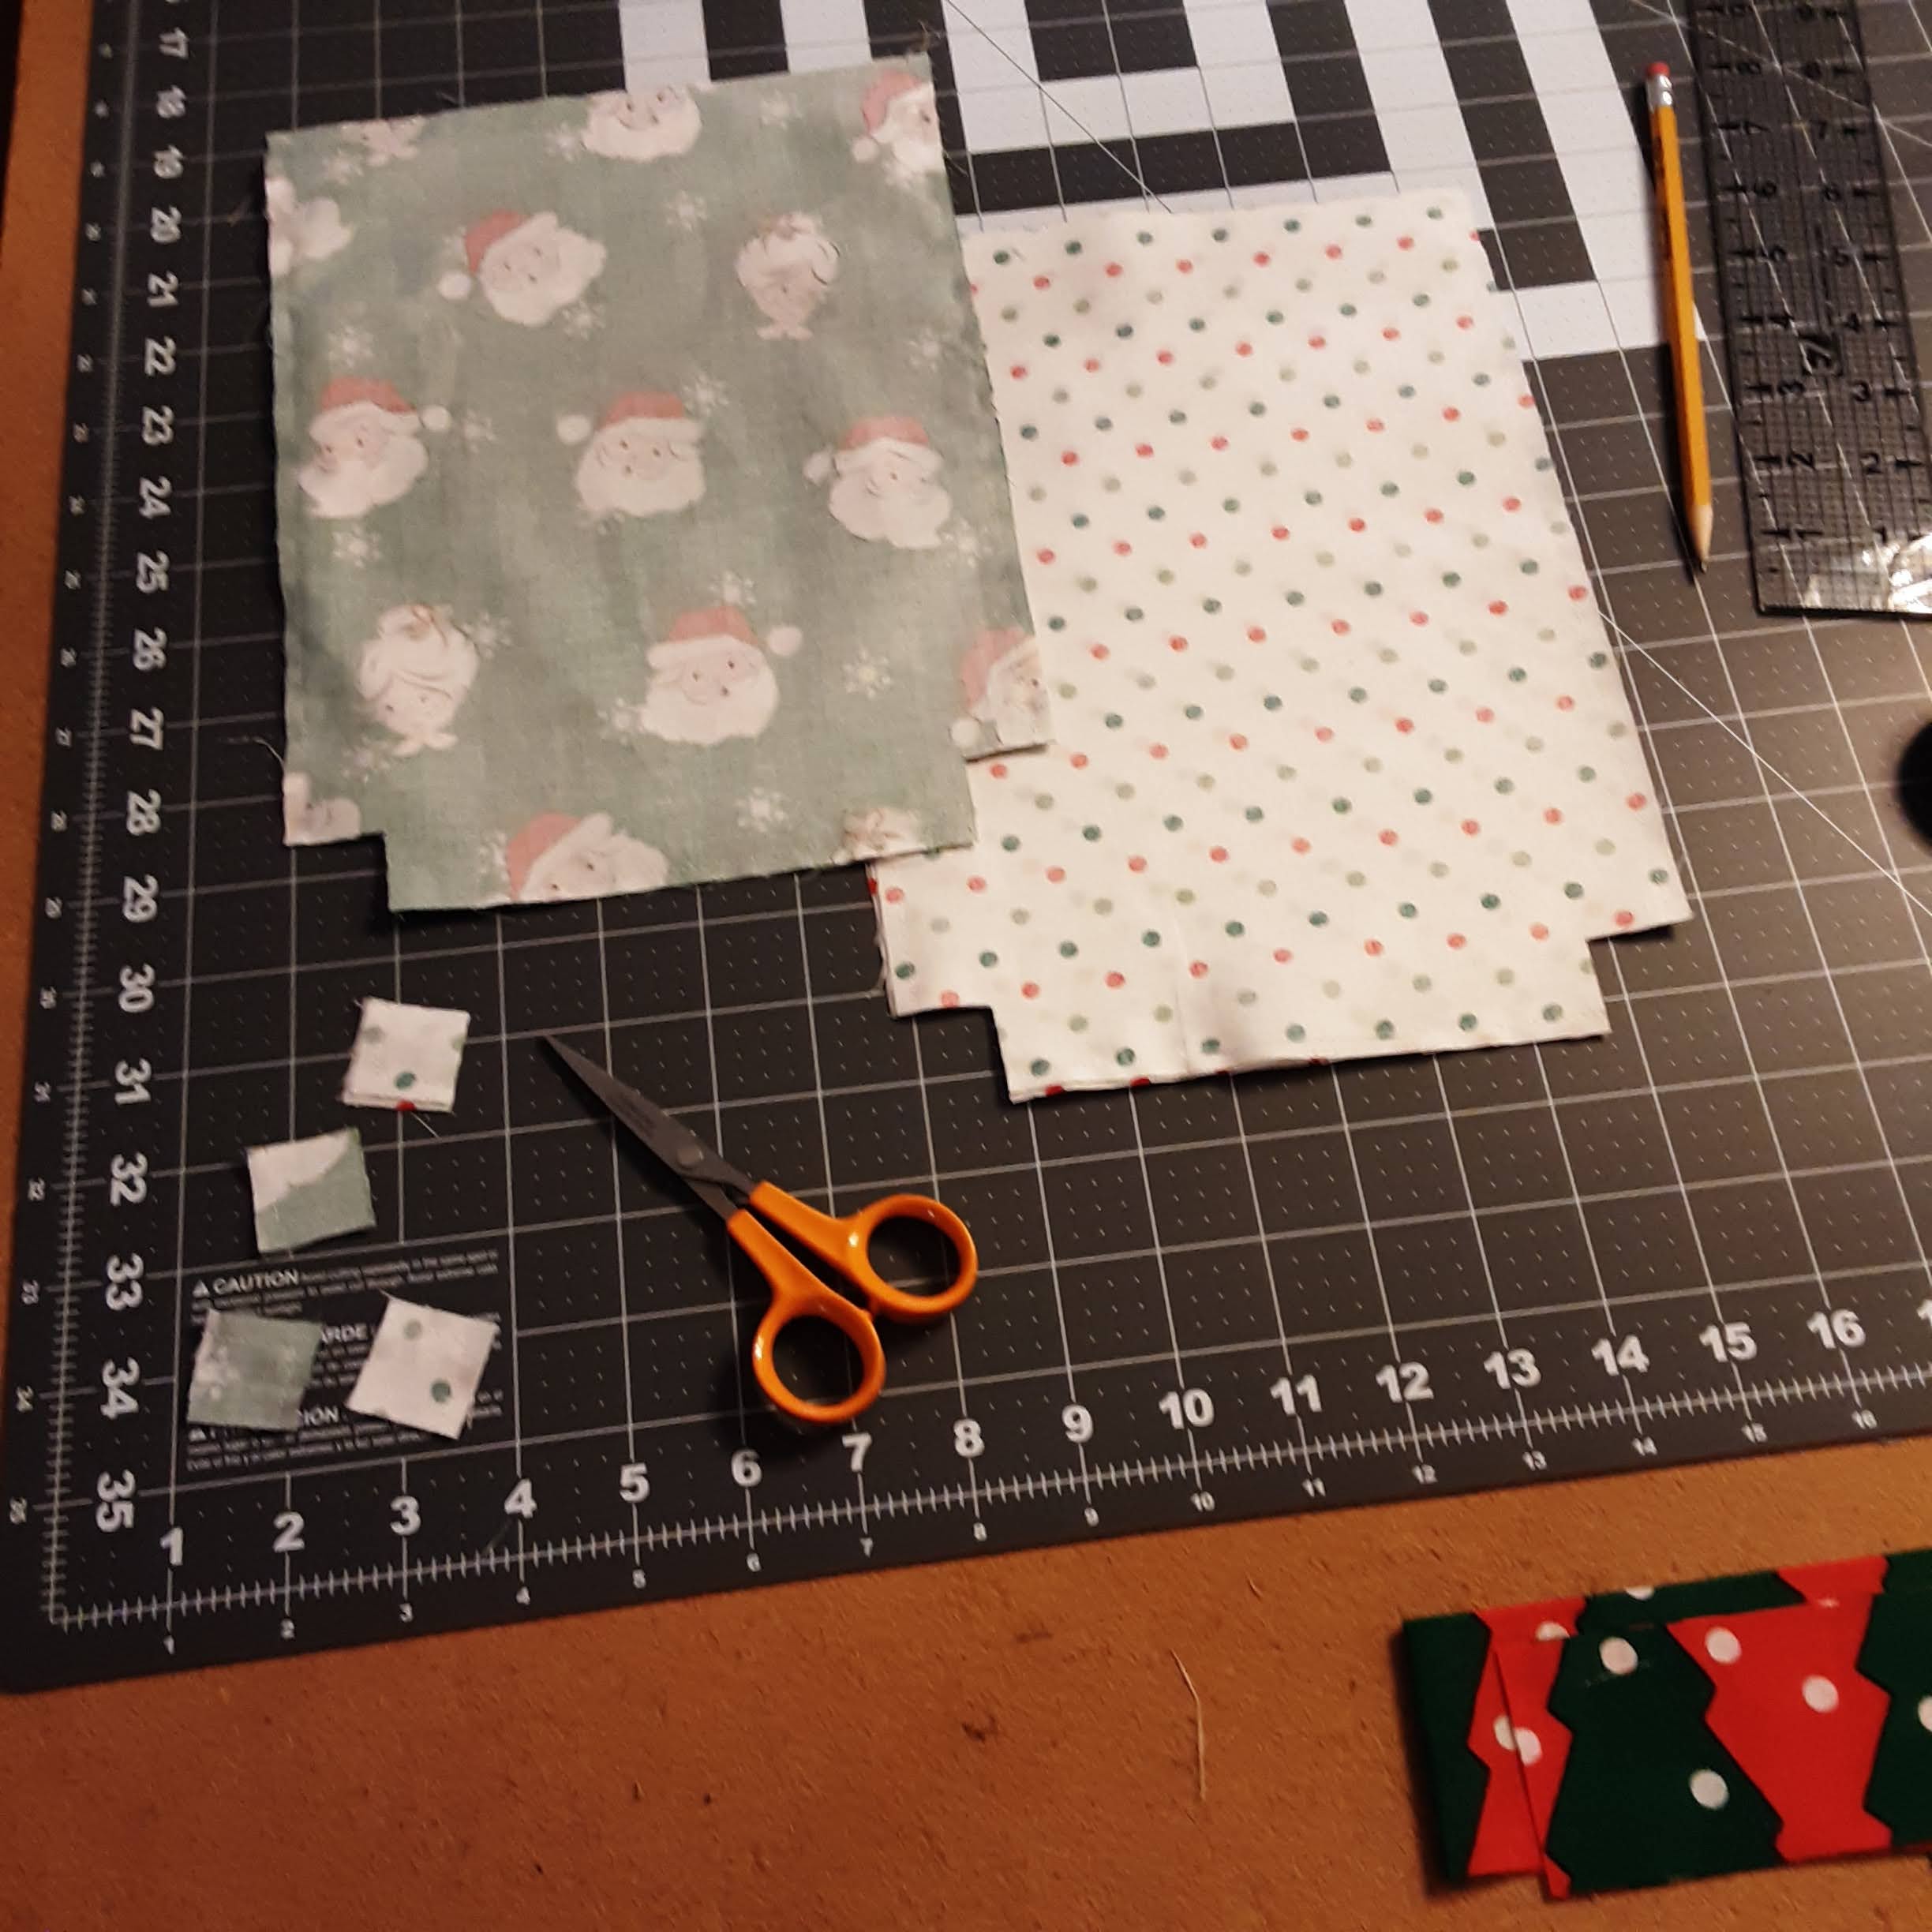
After several hours of pairing fabrics, and lots of chocolate, I was ready to start cutting.  I cut out all the bags before I started sewing.  I stacked them up and just worked through the pile.


I cut my outer pieces and my lining pieces 8" X 11".  I cut the channel pieces 2" X 8".  And I made each drawstring piece at least 2" X 26".  For me, I like them long.  I used an assortment of ribbons and cording for the drawstrings.

I prepared the channels, and the outer bag as well as the lining.


I did the boxed corners a little different than the tutorial.  I like to cut out squares in the corners, so I cut 1" squares out of each corner on the outer bags and the lining.  Hindsight, I could have cut out 2" squares.


Then I turned the outer bag, poked out the corners, and got them ready for the final assembly.


All it needs now is to sew the channel on, and thread it with a drawstring.


And there you have it!  It probably takes less time to make one of these bags, than it did to look at this post! 😅

Here are all of my bags before they were filled with goodies:


If you made it this far, thanks for reading all of this!  Y'all deserve an extra present or two from Santa! 🎄🎅


And that's a wrap! (No pun intended)  Thanks to Carol for hosting this blog hop, and also to Joan for being such a great hostess.  I'm so grateful I signed up!  I was late to the party, but so glad I came!

 I hope you all have a VERY Merry Christmas and a wonderful New Year!  I'm already thinking about January,  white rabbits, and what I'm going to make!  See you soon!


Tuesday, April 2, 2019

FAL 2019 - Finish #3

My last finish for the first quarter of the Finish Along is a Dottie Angel apron I started last fall.  Although the directions are a little different than how I usually sew a garment, it turned out pretty well.  I think I will make a couple more of them in spring and summer prints.

Here is the post that shows the unfinished apron:  Unfinished Apron FAL 2019  

Here is the apron finished:  (I know it needs ironed!)

It goes on easily over the head, and has plenty of room to wear over clothes.  I made the tunic length, and will definitely make the others the same length.  Overall, it was an easy pattern to follow!  And I like having a full length apron to clean and cook in!  And I absolutely LOVE the pockets!

I am linking this post to:


That is it for my three finishes this quarter!  I hope to keep it up for the rest of the year!


Monday, April 1, 2019

2019 Finish Along - Finish #2

Here I am at finish #2.  I had intended to make these little gift bags for Christmas for friends of my granddaughter's at the bus stop.  I bought little pencils and pens, little Christmas notepads, little boxes of crayons, and some candies to put in each one.

Needless to say, I didn't get them finished.  I finished 2 or 3 of them, but the granddaughter claimed the first one, and I got too busy with other projects to finish sewing the rest.

Here is the original FAL 2019 post that shows the stacks of bags ready to be sewn:
Unfinished Tote Bags  

But I finished them and they are ready for next Christmas!  I don't even have to buy little things to stuff inside them, because I have it already!  Here are the bags I finished:


They turned out so cute!  Each one has a pocket in the front for a candy cane.  And they were so easy to make!  I started an assembly line, and before I knew it they were all done.  It only took about 3 evenings.  I had everything cut out and placed in piles before I started the finish.

Here you can see them a little closer:


I am linking up my finishes here:


One more finish to share after this!


2019 Finish Along - Finish #1

Way back in January - 3months ago already! - I decided to participate in the 2019 Finish Along hosted by many awesome quilters.  The purpose of it is to inspire people who sew and quilt to finish some of their projects that they have started.

Last year, I 'participated' also, but didn't do too well in the Finish Department.  I meant well, but that's about as far as I got.

This year, I am off to a much better start!  For the first quarter, I listed three projects to finish, and I have finished them all!  Woohoo!  I just gave myself a standing ovation!

The first project I wanted to finish was to do SOMETHING with 2 gigantic snowman blocks I had made back in the day.  I cannot even remember what I made them for!  All I know is they are HUGE!  So I decided to make them into a tote bag to carry my knitting around in the winter months.

Here is the original post showing just the blocks:  Snowman Blocks FAL 2019

Here is my finished bag....(make your own drumroll sound as you scroll down)

TADA!  There it is in all it's glory!  The back is exactly the same as the front, as I had made 2 snowman blocks and then stopped.  I lined it with soft flannel, and luckily had enough of the blue snowball print in my scrap pile to make the handles.  

I haven't used it yet, but my other knitting bad is about ready to fall apart, so I'm thinking this fall it will be put to good use.

I am linking up my first finish here:


That's it for my first finish!
Happy Sewing!


Friday, January 11, 2019

2019 Finish Along

So here I am at the beginning of a new year, again, sitting with piles of unfinished sewing projects from last year.  I mean well.  I really do.  But things get in the way, you know?  If all I had to do was sit and sew and quilt all day, I …..oh, let's be honest.  Even if all I had to do was sew and quilt all day, I'd still have piles of unfinished stuff I just didn't get around to finishing.

This year, I am making a dedicated effort to finish those projects and use up a bunch of my fabric.  So I can go buy some more fabric!  There are so many new fabrics I want to buy, but I am having a hard time justifying it when I have a sewing room piled with fabric and stuff I haven't made yet.  And books.  And patterns.  And fat quarters are all over the place - on my table, on my ironing board, on the shelves, on the floor!  I think they multiply like rabbits!  Yet, when I go to make a bag or piece a new block, I never have what I want.  So I go buy more.  I need to be a better planner.

I start so many new projects, spontaneously.  I see something on Instagram, or Pinterest, or Facebook, and I immediately have to make one.  Quick - push aside what I am working on.  Start a new project.  I can do 2 things at once, right?  Or 3?  Or maybe I can knit in my spare time in the morning, cross stitch in the afternoon, and sew after dinner until bedtime.  I guess I forget that it takes me at least an hour to figure out where I left off, and what comes next, and by that time I'm ready to call it quits for the day.  

So wish me luck!  I'm challenging myself to do better this year.  I am participating in the 2019 Finish Along, and here are the projects I want to finish in the first quarter of 2019:

I have two of these snowman blocks (the second one is hidden underneath.  They are HUGE.  I have no idea why I made them, but I didn't do a good job on them and they are so old I can't remember when I made them.  It may have been in a previous life.   Did I mention they are HUGE?  The blocks are about 17 X 17 each.  Why did I keep them?  Why did I make them?  Who knows?  But they have been on the bottom of a pile on my ironing board and I am sick of them.  So, I am going to make them into a GIGANTIC SNOWMAN TOTE bag.  I want to cut a lining for them, make some handles, sew it together, and use it to carry my knitting in. 

These are going to be small bags.There are 8 of them cut out and ready to sew together.  I just have to fuse some batting onto them and sew them together.  I was supposed to give them as gifts to the kids at my granddaughter's bus stop at Christmas.  That didn't happen.  Maybe Christmas 2019?  I did finish a couple of them I used as gifts for kids, and I have one finished.  Eight more to go, and I will be all set to fill them with goodies!

And this is a cut out, half sewn, Dottie Angel apron I wanted to make in the fall.  The ties are sticking out from underneath, but that is where I stopped.  I have to make darts, attach the ties, and finish sewing it up.  

So there are the 3 things I want to finish up by the end of March.  Think I can do it?  I might surprise myself!  We shall see.....


Anybody want to join in on the fun?